

World’s Smallest IoT Project
IoT has been trending for a while in the field of electronics and communications. Many projects and products are daily made under IoT. Even I made several projects under this topic. But this is the limit of how the IoT project can be shrunk in size without compromising its ability to work. This time I’m presenting you the smallest project of mine or the smallest project ever made in IoT field. There may be products which are way more smaller than my project, but I bet an IoT project can’t be smaller than the one which I have made. This is the simplest IoT project – an IoT button with a rechargeable battery. So let’s see how to make this.
Things required:
- ESP8266 01 module
- 200 mAh LiPo battery
- TP4056 battery charging module
Story
It all started when I came to know about programming the generic ESP8266 or ESP8266-01 module using Arduino IDE. Till now I was thinking that the version greater the 01 can only be programmed with Arduino IDE. But when I tried programming this little module, I succeeded programming this and then searched on the Google. There I found that people already succeeded programming this module. So it was just a new thing to me, and it may be possible that the one who is reading this also knows that we can program ESP8266-01 with Arduino’s language. So anyways, this blog is for the people who don’t know how to flash firmware of our ESP-01 using Arduino IDE. Yes, we can now program our ESP-01 just like we program our Arduino boards. For that, you first need to download packages from the board manager. I have already made the video for that. Just follow the steps if your board manager doesn’t show ESP boards. https://youtu.be/I6qo_2USF6o After downloading the required packages, you are ready to program your ESP-01. For that, you need to have a USB to TTL converter module or you can even use your Arduino board to program your little WiFi module. I have used a USB to TTL converter to program this. Its connection will be something like this:

You need to install drivers for this USB to TTL dongle. Click here and download the drivers according to your system configurations. Now lets move towards the code.
Coding
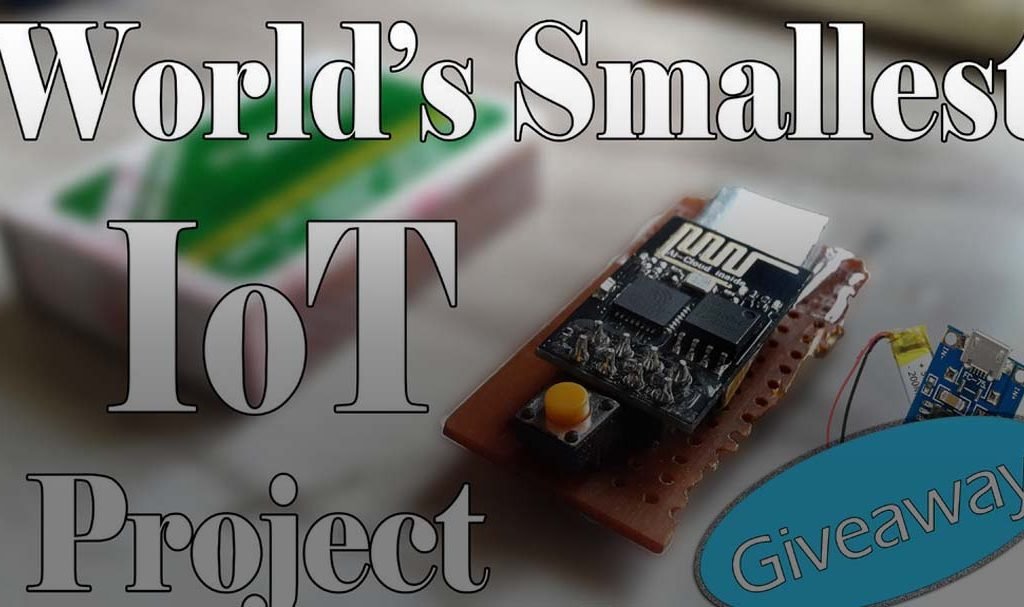
I have changed its coding several times in order to reduce the battery usage of this module. Initially I coded it with Adafruit MQTT code, in which this module is already subscribed to a topic; and whenever we press the button, it will publish a message on that topic and accordingly we can perform actions. So when programmed with this simple code, I experienced that the 200 mAh battery lasted only for 1 hour. So this is not a battery efficient code at all. Then I changed the code, removed unwanted lines and made the code as short as possible, but all efforts were in vain. So I googled how to make it battery efficient. There I found that this module has a function called deepSleep() in which this module goes to rest and consumes only around 10 uA of current. Now this is something I wanted. So I changed the code, after publishing the message to the topic, the module goes into deep sleep and you won’t believe that same battery lasted for 3 days. Furthermore, I changed the code. So rather than MQTT, I have uploaded a code in which the module will request API from a channel of IFTTT called MAKER. And whenever this link is requested from anywhere, we can perform our required task. So when the code was running perfectly, I just soldered all the components along with the battery and its charging module. The circuit looked like this:

I have made the code in such a manner that you don’t ever need to reprogram it. You can change the application of the button; you can even change the WiFi access point name and password in case you have to change the router or its password. So just program it once and forget about it. I am listing some of the applications of this smallest IoT project.
- Amazon Dash button
- Controlling appliances
- Sending emergency SMS on any number
- Playing music on your phone
- Opening your garage door
…as well as many such one-button applications you can think of. I have made a tutorial video for this project on which I have covered every aspect of this project. https://youtu.be/6I-4PuuP94k


